If like me you take a lot of screenshots on your computer, whether it be while providing technical support, or putting together training procedures, there's a lot to love about Microsoft's new Snip & Sketch app and I'm going to show you how to get the most out of it.
The old Windows Snipping tool was good, but I didn't like how many steps there were to using it, you had to open the snipping tool, click new, then take your snip, then save the snip to your computer, this is a process that should be so much easier.
With Snip & Sketch you can take a screenshot or snip with the following key combination:
Windows + Shift + S
This will give you a toolbar at the top of the screen with some different screenshot options, you can choose one of these options or you can simply click and drag to select an area on the screen to save.
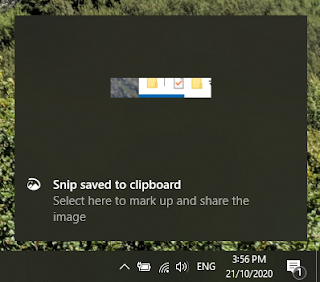
Once you have selected an area, the clipping will be copied to the clipboard so that you can paste it directly into an application, you will also see a notification once a clipping has been made, clicking on the notification will show your clipping in the Snip & Sketch application so that you can draw, highlight, and make edits to the image.
The Snip & Sketch editor has a range of tools to further edit your image including drawing, highlighting, and cropping, once you made the changes you'd like the edited clipping can be saved as an image or copied to the clipboard.
When taking a screenshot with Snip & Sketch, the following options are available from the snipping toolbar.
Rectangular Snip - Take a snip of a portion of the screen by clicking and dragging on the screen to select a rectangular area.
Freeform Snip - Take a screenshot of an area you draw, instead of being a rectangular screenshot, the screenshot will be the shape that you draw.
Window Snip - Take a screenshot of a particular application or window.
Fullscreen Snip - Take a screenshot of the entire screen.
The best way to use Snip & Sketch
Remembering keyboard shortcuts is hard, however you can enable this snipping menu to activate whenever you press the Print Screen key on your keyboard.
Enable Snip & Sketch from Print Screen
Built into the Windows 10 Ease of Access settings lies the option to enable access to the Snip & Sketch snipping menu by pressing the PrtScn key on the keyboard, the following steps walk you through enabling this setting.
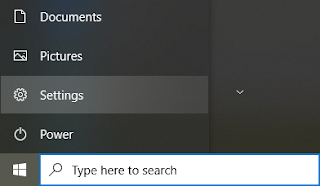
- In your start menu click on the settings icon.
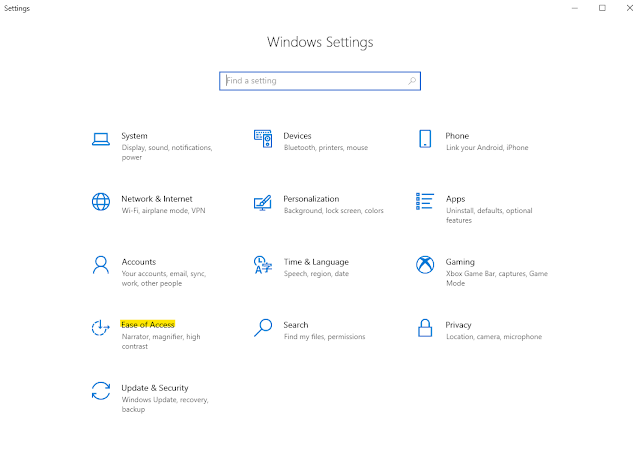
- In the settings menu, click on Ease of Access
- On the left-hand menu you will see the different sections of the Ease of Access settings, scroll down and select Keyboard
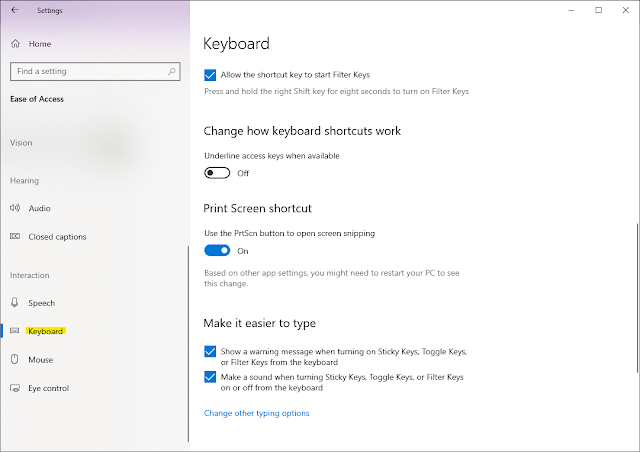
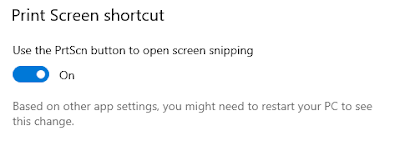
- In the settings you will find "Print Screen Shortcut", turning this setting on will allow you to access Snip & Sketch from the Print Screen key.
Now you can effortlessly take screenshots using the new Snip & Sketch tool in Windows 10.


Comments
Post a Comment